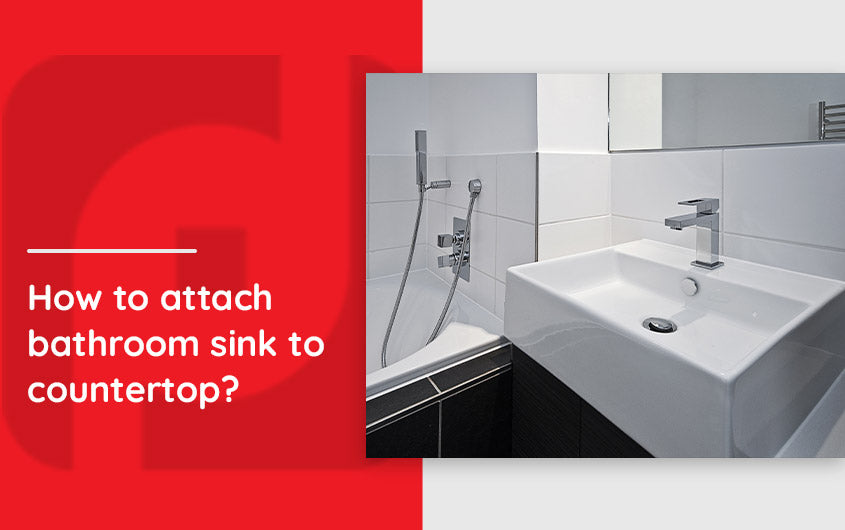
Detailed Guide for Installing Bathroom Sinks
Attaching a bathroom sink to its vanity countertop is not rocket science. The installation process is relatively easy, provided you have basic skills and tools. An average person can easily take it as a DIY project with correct instruction in hand. This article will provide you a step-by-step procedure for attaching the bathroom sink to the Countertop.
How to Install a Bathroom Countertop and Sink
Sinks are available in different styles, shapes, and sizes, and each one of them has different installation techniques. Pedestal sinks and wall mount sinks are easy to install since they are directly fastened to the wall and connected to plumbing.
Sinks that need to be attached to the countertop, however, need a little woodworking knowledge. This type also needs some better tools and techniques to be followed.
Bathroom Sink Installation Tools
Some essential tools that you need to attach the sink to the bathroom countertop are mentioned below:
- Screwdriver
- Marker
- Drill
- Nails
- Silicone adhesive
- Tape for plumbing and a few more.
Steps to Install a Vessel Sink
Vessel sinks are fancy, beautiful, and perfect for your bathroom. They need less work during installation and go with the countertop well. These sinks remain above, and hence minor cuts in the countertop suffice nicely.
- Choose your bathroom countertop in advance. If your countertop has been precut to accommodate the sink, you can skip the first step. But if the countertop is not cut, use your marker to trace the sink shape and cut accordingly. Cut a central hole for the plumbing channels to pass. Make sure the cut surfaces are smooth so that drilling doesn’t leave cracks.
- Use silicone to fix the bathroom countertop in place. Apply it roughly at first, and then set your precut countertop. Fix the edges with silicone as well and press the countertop to secure its position firmly.
- Invert the sink and apply silicone to prevent water leakage underneath. Then flip it and put the plumbing supply lines in the central hole. Place the sink in its required position and fix its mounting screws underside. Then move on to make the plumbing connections accordingly.
Steps to Install an Undermount Sink
Undermount sinks are aesthetically pleasing to the eye and give a contemporary look. However, this type needs experienced hands for the installation. The sink should ultimately be inside the countertop, and no imperfections should be visible.
- In this bathroom countertop type, the hole is usually precut to adjust the whole sink in it. If you do not have prior experience cutting counters, you should buy a countertop with the precut whole.
- Flip the countertop upside down and apply silicone around the cut and note the position of the screws.
- Reverse the sink, place it right in the cut, and secure its position with screws provided.
- Then turn the countertop and fix it over the cabinet properly using silicone.
- Connect the plumbing lines to the sink accordingly.
Conclusion
With the steps provided above, you can now easily install a bathroom sink with minimum effort. A little mastery, good tools, and knowledge are all that you need to give your bathroom a complete look it deserves.


