
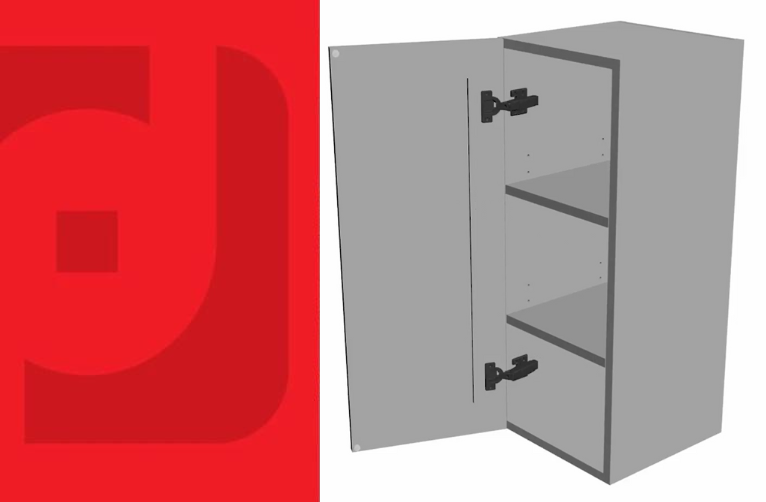
RTA Wall Cabinet Assembly Guide & Video
What Materials & Tools Do You Need?
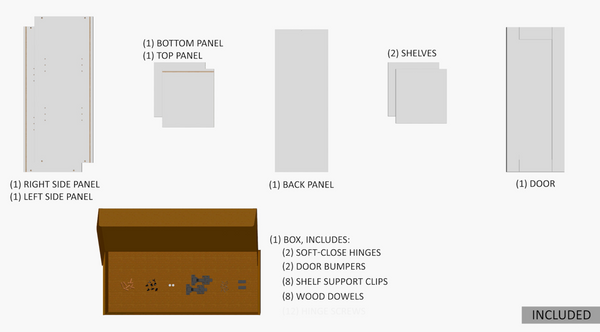
Included Cabinet Assembly Materials:
- (1) Right Side Panel
- (1) Left Side Panel
- (1) Bottom Panel
- (1) Top Panel
- (1) Back Panel
- (2) Shelves
- (1) Door
Additional Included Materials:
- (2) Soft-Close Hinges
- (2) Door Bumpers
- (8) Shelf Support Clips

Assembly Tools (Not Included)
- (1) Drill
- (1) Rubber Mallet
- (1) Screwdriver
- (9) 1-¼” Flat Head Wood Screws
Wall Cabinet Assembly Instructions & Steps
*Before assembly, examine all product pieces to ensure no contents are missing or damaged.
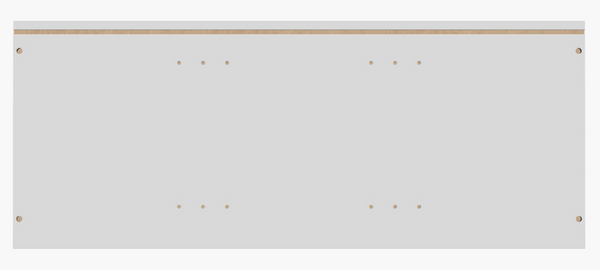
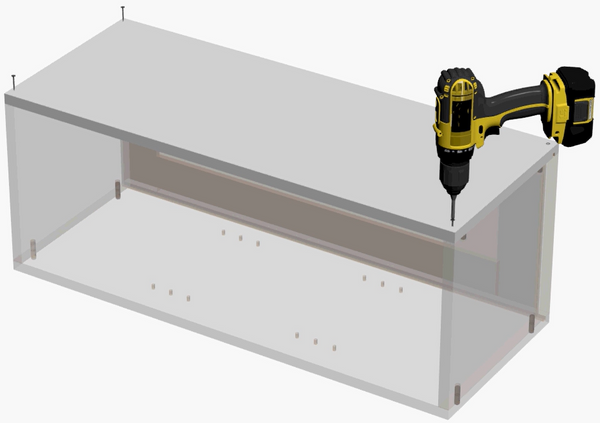
1. Lay one of the side panels flat with the shelf holes facing upwards.
2. Using the wooden dowels, attach the top and bottom panels to one of the sides.
- Ensure that all finished surfaces are facing the correct direction.
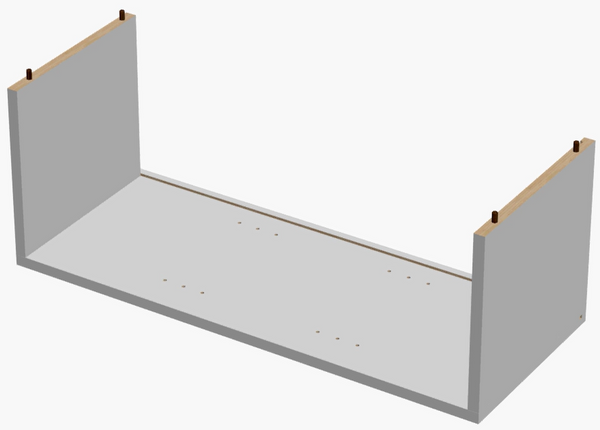
3. Slide the back panel with the finished side facing forward, then attach the other side panel.

- Use a rubber mallet to gently secure the pieces together.

4. (Recommended) To create additional support, screw in the 1 1/4" flat head wood screws on each corner of the side panels.
- *Note: 1 1/4" flat head wood screws are not included
Once completed, carefully flip the cabinet to the opposite side and repeat Steps 3 - 4.
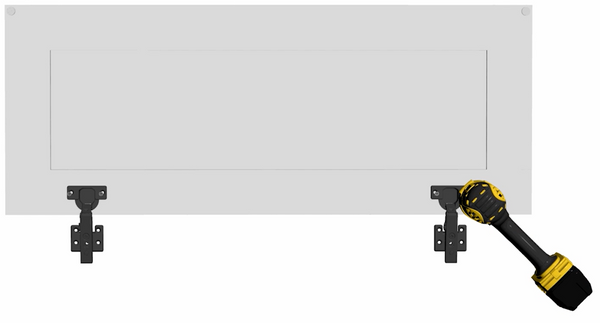
5. Lay the cabinet doors flat with the hinge holes facing up.
- Use the rubber mallet to attach both door bumpers.

- Then use the screws to install the soft-close hinges into the pre-drilled holes.
- Ensure that the cabinet will be swinging in your desired direction once attached to the base.
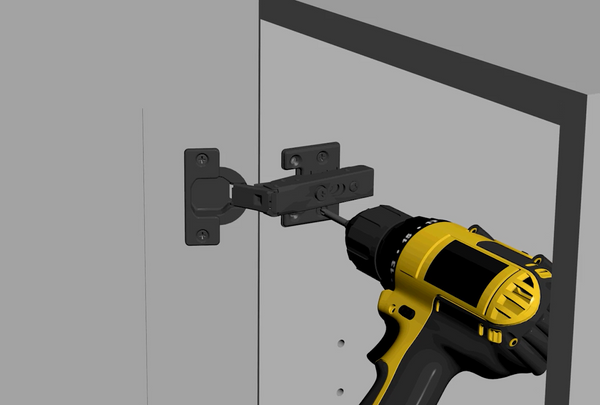
6. Now we'll be attaching the door to the cabinet. Attach the top hinge to the base by screwing in the top and bottom screws.
- Repeat this same process on the bottom hinge.

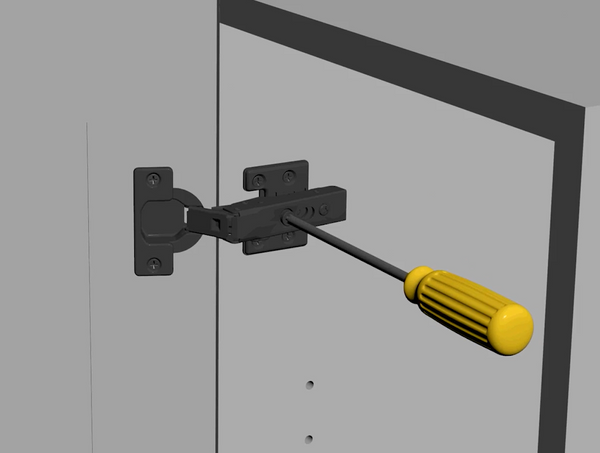
- Next, align the door by screwing an adjustable screw into the center hole of the top hinge.
- Repeat this same process on the bottom hinge.
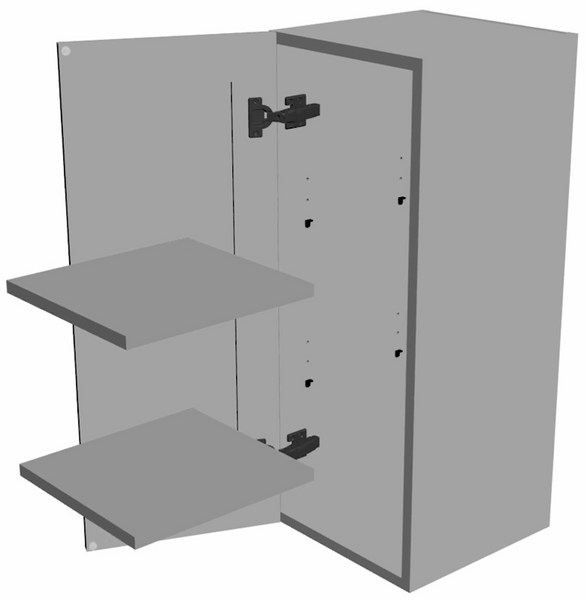
7. Finally, we'll install the shelves.
- Push the shelf pins into holes at the level of your desired height, then slide the shelves into the cabinet resting on the top of the clips.
Now you're PKB Cabinetry wall cabinet is ready to be installed for your project or home redesign!
Contact the RTA Cabinetry Professionals for Additional Support
Have questions or need further assistance to assemble your RTA wall cabinet? Locate your nearest PKB Cabinetry dealer today! Or if you're interested in purchasing one of our cabinetry products, browse our full inventory of RTA cabinets now!


